
Normally, Monday features our weekly spoiler recap (this will shift to Tuesdays going forward), but instead, this week, we are debuting our new Meta Monday segment. Starting next week, on Mondays, we’ll adjust our running tier list of the competitive meta, which will include decklists and deck tech articles. We hope this will be a valuable starting point for new players that want to understand the competitive meta, and a resource for veterans to track the gauntlet of decks they should test against.
This week, we’re getting a tournament report from the winner of the Take the Initiative (TTI) Season 0 Tabletop Simulator League… Astrotech! For refence, this was a 16-player tournament following a month of league play with 50+ players. The bracket can be found here, the decklists for the Top 16 Tournament can be found here, and here’s a guide on how to sign up for future months of the league if you are interested!
Without further ado, please welcome Astrotech!
Boba Command Tournament Report
This last weekend, I had the opportunity to play in the top cut of the Take the Initiative Season 0 Event. This was the sixteen-player culmination of a league season that occurred in December. I ended the league season with a match record of 6-2, which was good for 5th place going into the playoffs.
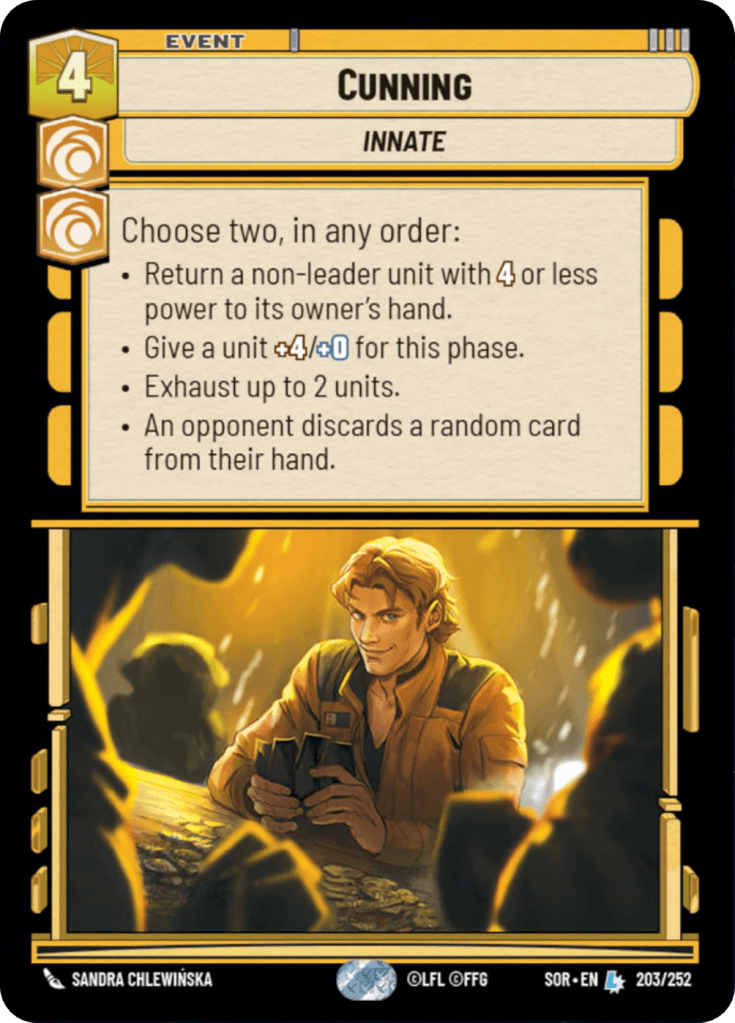
During the league season, I played a mix of Command Luke and Cunning Sabine. While I like both decks, I felt as though they did not have the tools to compete with the menace that Boba had become during the run of January’s league season. This left me with two options: Find a deck to beat the menace or suit up in some Mandalorian armor and fight fire with Firespray.
As you can tell from the title, I chose the latter. There were a few things that I had wanted to test out to help the deck in the mirror match, which I expected to be the most played deck in the event. My two primary innovations for the mirror were Steadfast Battalion and Bounty Hunter Crew.


The idea with Steadfast Battalion is that on your five-resource turn you can:
- Deploy Boba Fett.
- Once your opponent deploys their leader, you can use Energy Conversion Lab to ambush their leader for seven damage with the Steadfast Battalion.
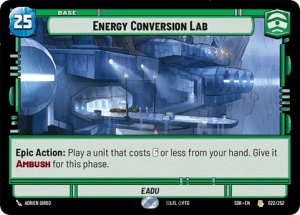
This is good enough to kill most leaders in the set excluding Darth Vader, Chewbacca & Thrawn. This is a powerful play pattern in a format where you expect to play into a lot of five and six cost leaders, since it leaves you with a large board state and your opponent loses their leader.
The idea behind Bounty Hunter Crew is that the late game in the Boba Mirror is usually about playing the most copies of Fett’s Firespray and Darth Vader.


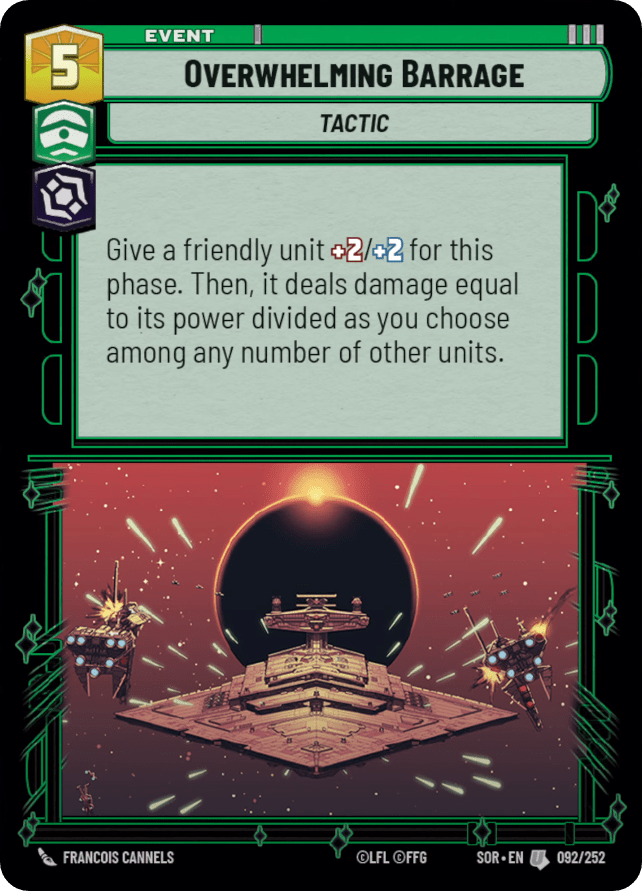
In most cases Darth Vader will come down and kill a unit leaving him with between two and four health. Bounty Hunter Crew will ambush and defeat Vader while returning a card like No good to me Dead, Overwhelming Barrage, or Waylay to your hand. This allows you to stay card neutral on the exchange while giving you a tool to deal with the next top end threat from your opponent.


After some testing with these cards during the Season 0.5 league I finally settled on the following list for the event.

My list is heavily slanted towards the Command Boba mirror with the full ramp package to allow turn 3 Boba as often as possible and leaving the anti-aggression slanted cards in the sideboard. I am happy with this list for a Boba heavy event, but the event only had three other players on Boba. With all this preamble out of the way let’s get into the event.
Round of Sixteen Vs. drosan (Command Krennic)
Unfortunately, drosan was not able to participate in the event today due to unforeseen circumstances. I expected this match to be one of the more challenging in the bracket due to Krennic’s strong removal and late game options. While I was happy to come out of this round with a win, I wished it were under different circumstances. I wish drosan the best in future league seasons and look forward to our matches going forward.
Win by forfeit
Top Eight Vs. Rebel Traitor (Command Luke)
Rebel Traitor won his top sixteen match against woooo in the Command Luke mirror. His decklist featured some notable inclusions such as a single copy of Force Throw and two copies of Overwhelming Barrage. You can see the whole match from Rebel Traitor’s perspective here.
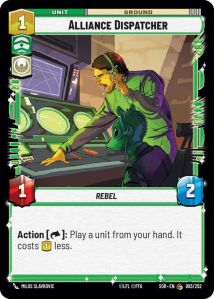
Game one: Rebel lead on Alliance Dispatcher, which is a strong addition to the Command Luke deck. This is one of Luke’s stronger starts as it allows you to play a three drop on turn two and put a shield on it with Luke. Fortunately for me his turn two play was Resupply and my Greedo ended up trading off with the dispatcher. I was able to ramp on turn two with a Superlaser Technician.
This left me feeling confident as getting Boba out a turn before Luke is strong, especially with my Steadfast Battalion gameplan. On turn three, I deployed Boba and mistakenly readied two resources. This ends up not mattering as I only use four of the five total resources for that turn. The game progresses into a midrange battle for ground control which Rebel wins with Luke Jedi Knight. I pivot to space with Fett’s Firespray and leverage Overwhelming Barrage and Surprise Strike to close the game.

Game two: I was forced to mulligan my first hand as it contained mostly cards costing five or more. My second hand did not have a ramp effect but had a fine curve of Viper Probe Droid into Cell Block Guard. In this game, Rebel once again starts on Alliance Dispatcher and due to my lack of ramp I decided to use Energy Conversion Lab to kill the dispatch and slow down Rebel’s development. This play ended up being quite effective since Rebel opted to resource his Resupply leaving him with no turn two play.
The Viper Probe Droid also showed me a hand full of expensive units. Based on this information I was able to create a game plan centered around my more aggressive start, backed by Waylay to delay Rebel’s development enough to close out the game before Obi-wan and Redemption were able to stabilize things.


Good games with Rebel Traitor and a huge shout out to him as the organizer of this league. I highly recommend checking it out if you are interested in getting started or more involved with Star Wars: Unlimited.
Win 2-0
Top Four Vs. PoisonIvey (Cunning Boba Fett)
This was my only Boba opponent of the event and I felt confident about it going in given my deck building choices going into the event. PoisonIvey’s deck is slanted more aggressively so I would need to take the stance of the control deck for the match up. You can watch the whole match here.
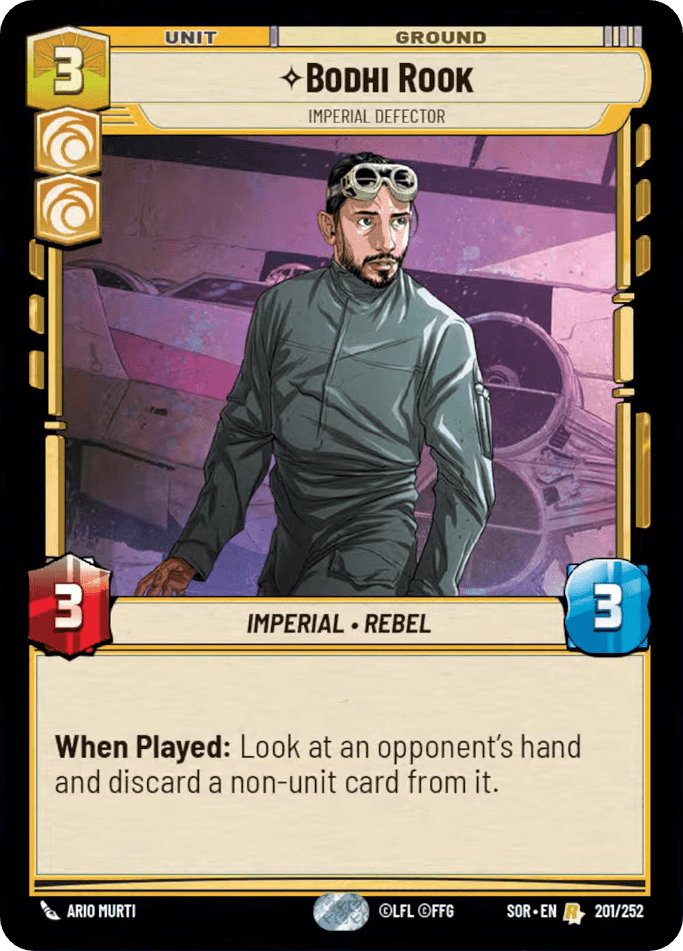
Game One: I leverage Superlaser Technician to remove the shield from his Crafty Smuggler. This most importantly allowed me to ramp on turn two, giving me the Boba advantage on deployment. During this game PoisonIvey was able to leverage Bodhi Rook and Cunning to discard two copies of Overwhelming Barrage that I had drawn. I was able to leverage the resource advantage to deploy Boba and develop a strong board state going into my six-resource turn.
PoisonIvey used some aggressive plays to keep the life advantage, but I deploy Fett’s Firespray and Greedo on the turn to further press my board advantage and look to close the game. Going into the next turn I choose to do a bit of damage control, using No Good to me Dead and Cartel Spacer to prevent seven damage. Despite my board state advantage, PoisonIvey deploys his own Fett’s Firespray and puts me in one of the tougher decisions of the day.

My options were to either allow my opponent to claim and present seven more damage to base, which would put them on death’s door or to claim my self in hopes of drawing a way of playing around a potential Shoot First from my them which would present lethal on the Firespray.
I chose to claim as I would still be able to present lethal with two attackers assuming they did not draw into a second Cunning, and it would allow me to play around the chance that they draw the Shoot First. PoisonIvey passes and I draw my third copy of Overwhelming Barrage to shore up the game, with PoisonIvey conceding before I need to play it.
Game Two: After mulliganing a hand of three Overwhelming Barrage, two Fett’s Firespray and a Viper Probe Droid, I draw a hand with a solid curve including a Superlaser Technician and Steadfast Battalion. Once again Bodhi Rook strips Overwhelming Barrage from my hand. I minimize base damage on turn three with Cartel Spacer while ramping with the Superlaser technician. This allowed me to deploy Boba Fett, ready two resources and Ambush in Steadfast Battalion to clear PoisonIvey’s board and leave me with a dominant board position going into turn four.
On turn five there is an option to play the Boba Fett or Steadfast Battalion that was returned to my hand by Cantina Bouncer. I chose to play Boba Fett since it would leave me with three resources to redeploy it in case my opponent played Waylay. I wanted to maintain as large of a board presence as possible to try to close the game on turn six. Playing Boba there let me ensure that I had three units in play going into the next turn. On turn six I draw a second copy of Surprise Strike and close the game in two attacks.

There were some interesting choices in those games and I am going to watch it back to see if there were any plays I could have made differently.
Win 2-0
Finals Hipo (Command Krennic)
Playing again Hipo on Krennic felt like a fitting end to the bracket since I was able to avoid the match in the round of sixteen. In my preparation for the game, against drosan I produced a plan for the match up that revolved around doing early damage in space, stabilizing the ground with Boba and Steadfast Battalion, and pushing for the win with Fett’s Firespray and Surprise Strikes. This would give me the best chance at avoiding a drawn-out game where I would have to deal with multiple high-end threats that Hipo’s list is able to play. You can watch the whole match here.
Game One: I start space with Cartel Spacer and follow up with Resupply. This sequence follows my game plan perfectly and allows me to strand Hipo’s Superlaser Technician to delay his ramp for a turn. I deploy Boba on turn four and set up for a Battalion ambush, but my Boba gets taken down before I deploy the Battalion. Hipo deploys Krennic and I play the Battalion without ambush. He decides to attack Krennic into the Battalion, which allows me to claim and finish him off on the following turn.
I follow up the trade with a Fett’s Firespray, which my opponent is unable to answer. Between the Firespray, an ambushed Steadfast Battalion on the ground and a Surprise Strike, I close the game in convincing fashion.
Game Two: I mulligan my opening hand for a hand with no two drops, however I play a turn two Superlaser Technician to try to ramp and get a board advantage. Hipo plays Resupply leaving me to claim. On turn three my hand has Consortium Starviper and multiple cards costing five or more. I need to make a play this turn that allows me to deploy Boba so that I can stay in the game against a Krennic deploy this turn. This turn presented another key decision point in the event.

I decided to use Energy Conversion Lab to ambush his Inferno Four with the Starviper. This play served three purposes:
- It let me kill a unit so that I could leverage Boba’s resource advantage later in the turn.
- It let me delay attacking with Superlaser Technician until after Hipo deployed something to the field.
- It removed the Inferno Four from the field, meaning that Hipo would either need to deploy something to the field or play an event using his resources for the turn.
Hipo follows this play by deploying Krennic, which allowed me to ramp with the Superlaser Technician, deploy Boba and Overwhelming Barrage to clear most of his board. The following turn sees Hipo clear Boba with Takedown, and I deploy a Fett’s Firespray to start pressuring the air. The next few turns do not yield any answers to the Firespray, and it is able to close out the game.
Overall, these games went to plan and Firespray put in a lot of work. Shout out to Hipo for making it to the finals and best of luck to all the competitors in next season.
Win 2-0
Closing Thoughts
Boba is certainly the menace in the early metagame. The power and options that his card pool provides allows for flexibility and power in all aspects of the game. The deck also can present a powerful and consistent game plan when paired with the ramp that dark side green offers. Firespray was a powerhouse all day and one of the things I am looking to build against when brewing other decks for the metagame. Going forward with my Boba list I would trim some of the Bounty Hunter Crew and Cell Block Guards for two copies of Change of Heart to help with the Krennic matches that go past the seven-resource turn.

Thanks again to Rebel Traitor for running a fun league and top cut event. I look forward to future leagues and for the release of the game in March. Good luck to all the gamers out there and I look forward to playing some more games in future Take the Initiative Leagues.
~~~~~~~~~~~~~~~~~~~~~~~~~~~~~~~~~~~~~~~~~~~~~~~~~~~~~~~~~~~~~~~~
Thanks to Astrotech for putting his write up together! It’s always a blast reading through the player experience of a tournament and some of the interesting decisions they had. You can also check out this interivew KTOD did with him immediately following the tournament if you’re looking for more insight, or hit him up in the Take The Initiative or Community discords!


Leave a reply to T N Cancel reply